So… this was a pinterest-inspired project that wasn’t nearly as fun as it looked on pinterest. haha…
That was mostly because of having to peel the crayons.
Anyway…
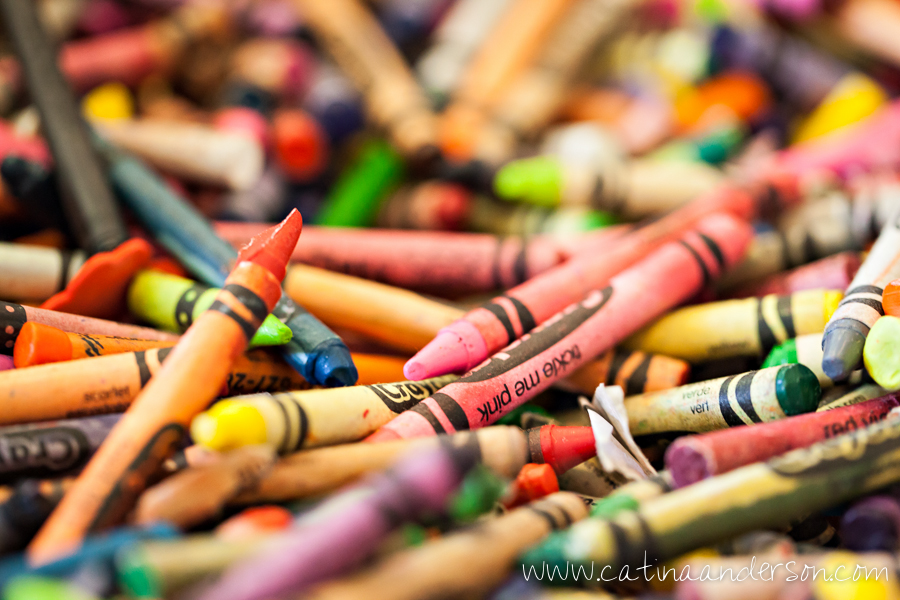
Last month a freecycle offer came through for a huge box of used crayons.
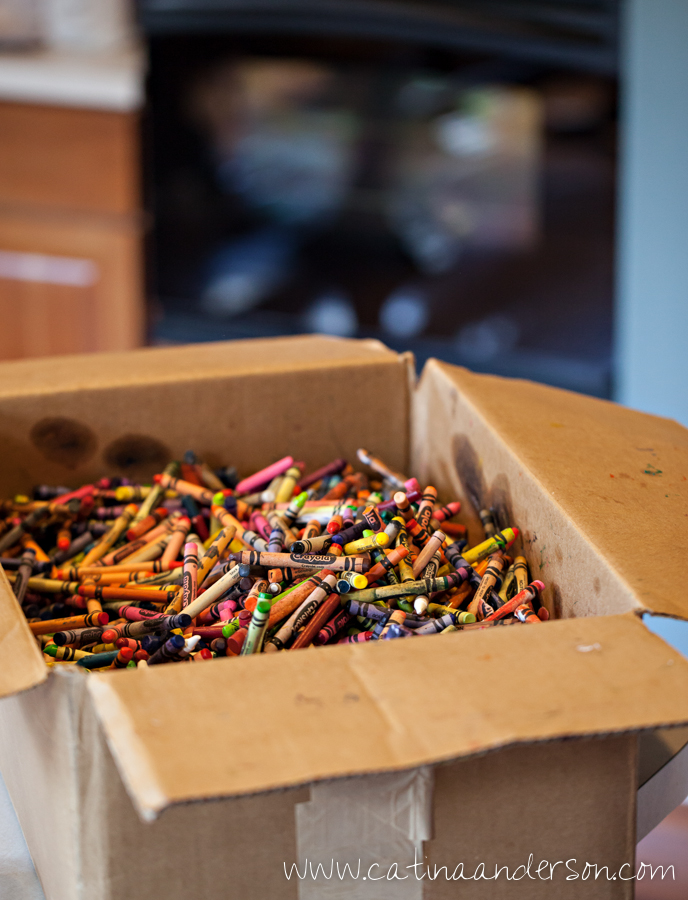
I thought this might be a neat opportunity for a service project for my girl scout troop. We could melt the crayons into fun shapes and donate them to an organization that could use them – perhaps the waiting room of the hospital… I’m not sure exactly where. But the first step was to try out the project and see if it would be fun for 8 and 9 year olds. So we got to work.
We started by buying a couple silicon molds. We chose molds with “points” thinking that these would be easier to hold and to draw with. A star mold and a sunburst shaped mold.
Then we started peeling crayons. Hmm… this was not as easy as it would seem. Some of the crayons in the box were melted as they sat on the porch waiting for me to pick them up on a 95+ degree day last month. We googled and found that you could soak them and the papers would “just peel off.” Hmm… that didn’t work so well for us. Just made the papers yucky and mushy and felt kinda gross… So back to peeling dry crayons for us…which left lots of crayon under the fingernails. Still. Not too horrible. And one of my daughters did enjoy the project and think that her scout troop would enjoy it as well.
This was the result of our first try.
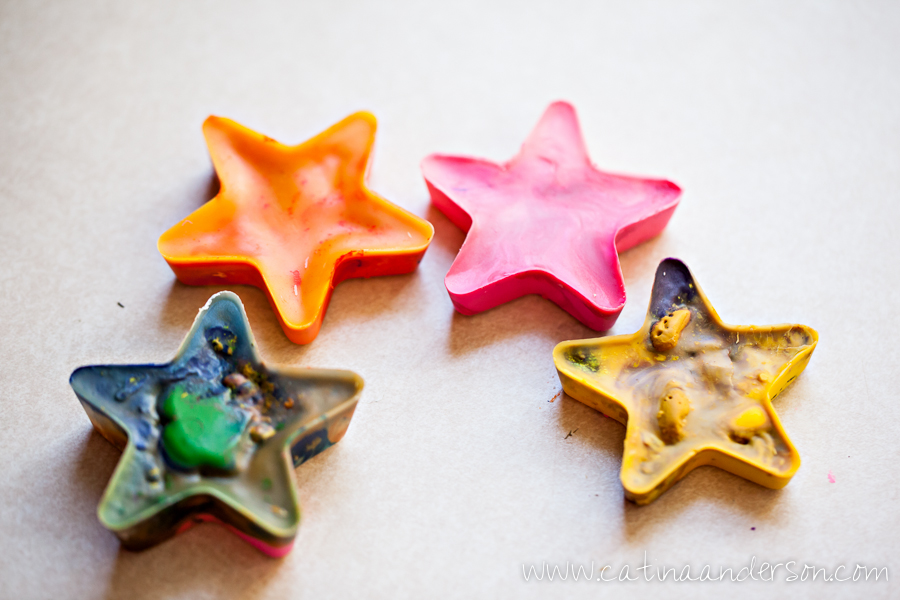
One of my girls declared… “Mom… these are kinda ugly!”
Yeah… maybe…
So let’s try again. This time with the sunburst.
![]()
Not being an experienced baker I didn’t anticipate that I should have put a cookie sheet beneath the silicon mold.
![]()
Yep… melted crayon spilled in my oven. No worries though… it wiped up pretty easy while it was still wet. And in this set I saw that there were enough solid crayons to almost form a rainbow.![]()
That gave me the idea that maybe if we did solid stars we could create a stack of star-shaped crayons to package as a gift to whatever organization we eventually connect with. So back to stars to try again.
![]()
And I love how they stack together nicely.
![]()
Of course… some of these seemed to “separate.” You can see 2 colors in some of the crayons above. Not sure if this was variation in the colors we put into the mold or if I baked it too long (because… if we’re being transparent… my husband yelled to me in another room “Hey! Are you cooking crayons??” Umm… oops… forgot… yep… these were in the oven a LONG time.
Umm…
I have been known to ruin a pot cooking macaroni and cheese…
Hence we eat out WAY more than we should.
I should probably take classes…
But I digress!
The stack of stars is way cuter. I’m thinking rainbow stacks of stars and hearts might be a fun gift and scout project. We did figure out that we could set up stations. 1. sorting crayons into colors (and separating out the ones that are still like new to keep in their original form), 2. peeling papers 3. breaking crayons into smaller pieces 4. baking 5. Wrapping 6. Making some sort of card to go with them.
I still need to come up with a cute card or saying to go along with the project. But I think this one is do-able. So long as no one is stuck at the paper-peeling station too long that is ;).
we use to melt the crayons into a heart shape and attached them to handmade Mother’s Day cards our preschoolers made. It would say something like Mom, you color my world with love. Happy Mothers Day. Or something like I give you all my heart for Mother’s Day and everyday!! I think they were a big hit with the Moms and the kids loved removing all the wrappers and smashing up all the broken crayons. They would unwrap the crayons they wanted to use and put them inside a ziplock baggy and then smash them to smithereens. Once they placed their colors inside the heart shaped mold I would melt them and made sure everyone got back the heart they had made. The kids were so impressed and they had so much fun.
Awesome! How did you attach them to the cards? Thanks for the great idea!