Today I thought I’d share a recent project. A simple chair update in my craft room. Nothing earth shattering… but it makes me so happy because I LOVE this fabric.
…and because I had never recovered a chair before.
…and because we got our daughters using power tools.
I love when we can get them involved with projects like this because I hope they will remember it when they are grown and feel confident that they have the skills to customize their own spaces. I also love showing them that old things don’t need to be thrown out – they can be reused, upcycled, updated.
Here’s the “BEFORE” picture. It’s a chair that came with a desk I got from freecycle.
{ I. LOVE. FREECYCLE! }
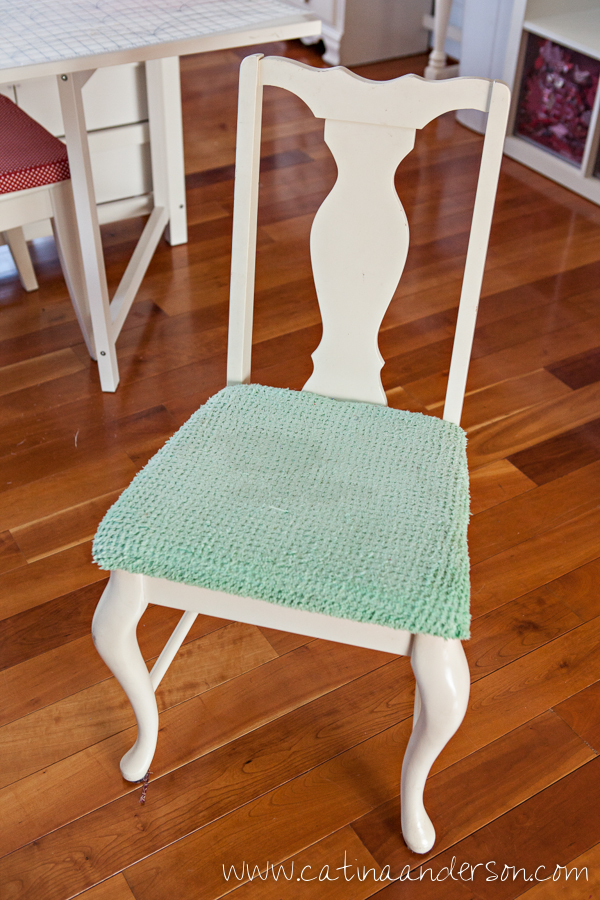
It’s been this way for a while and, well… the fabric has seen better days (presumably before I owned it).
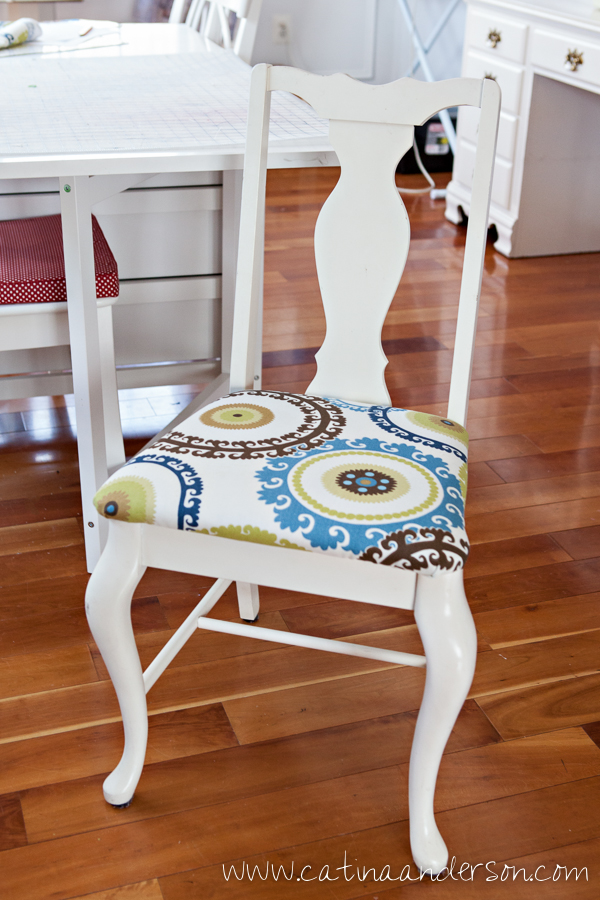
A few months ago I went to the grand opening of Hobby Lobby and saw an amazing piece of fabric that I fell in love with. I knew I had to do SOMETHING with it… but wasn’t sure what. The walls in my craft room (which would be anyone else’s dining room) are chocolate brown and then I realized THIS was what my fabric was meant for.
The lady that works at the fabric counter at Hobby Lobby was kind enough to talk me through the process for recovering the chair (which was so easy that I don’t know WHY I’ve never tried before! We will be recovering the rest of the chairs in this room very, very soon!).
So here goes…
We unscrewed the seat from the wooden part of the chair and discovered it had been recovered before! The girls got busy removing the tacks. They had fun with this.
Since I’m planning to do a lot of sewing this year to help out with the Valiant Warrior Quilting Project I decided to add another layer of batting. We added it over the original piece of beige fabric since that fabric was smooth – we threw out the bumpy and dirty green fabric. Looking here it was an okay first try… next time I’d be more careful to stay closer to the edges of the underneath of the seat so it’s not so messy when the chair is flipped upside down.![]()
Next we stapled the fabric once in the center of each side and worked our way outward with the staples until we had only the corners left unstapled. We flipped it over once or twice to make sure we were keeping things smooth and even.
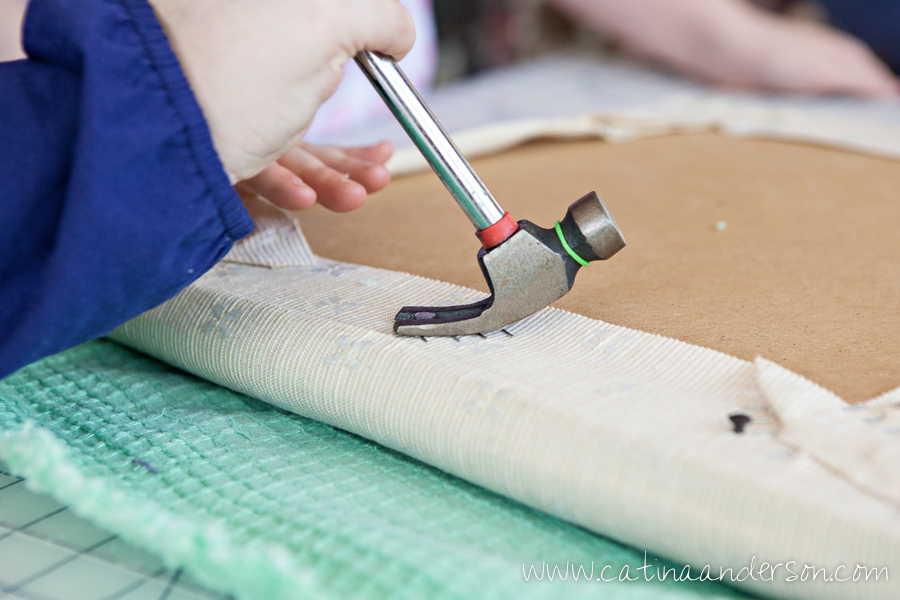
After that we pulled the corners and used short nails to tack them down. Actually, we reused the nails that we took out in step 1. This was easiest done with 2 people. That tiny hammer makes me laugh… great size for the girls… kinda funny next to our grown up hands.
![]()
Oh – and did any of you mama’s notice the random rainbow loom band floating around our craft table up there? How are those things EVERYWHERE??? lol Now… I challenge you to find it one of the previous pics! Did you notice it? Where else can that little green rubber band be found? It’s like “Where’s Waldo.”
Here’s what the pleat looked like close up. Not perfect… but not bad for a first try. We’re learning here as we go!
![]()
Then it’s back to kiddos and power tools. YAY!
![]()
And Voila!
![]()
It make me so happy to see this chair every day now. It may not be perfect but from the top it looks perfect to me… and how many people are going to go flipping my chairs upside down really?? So – if you have some chairs that need an update don’t wait! (hehe… rhyming makes me smile too). It took all of 20 minutes from start to finish.
I went out this week and bought the rest of what they had – hopefully enough to cover the 6 additional chairs I have in this space before I start my monthly “Scrappy Sunday” quilting get-togethers for the Valiant Warrior Quilting Project. Then I suppose the next update might be those outdated gold drawer pulls! 🙂
[…] love that the backs of the chairs won’t all match (these don’t match the one we did the other day) but the cushions will tie them together throughout the room. These chairs were in worse shape […]