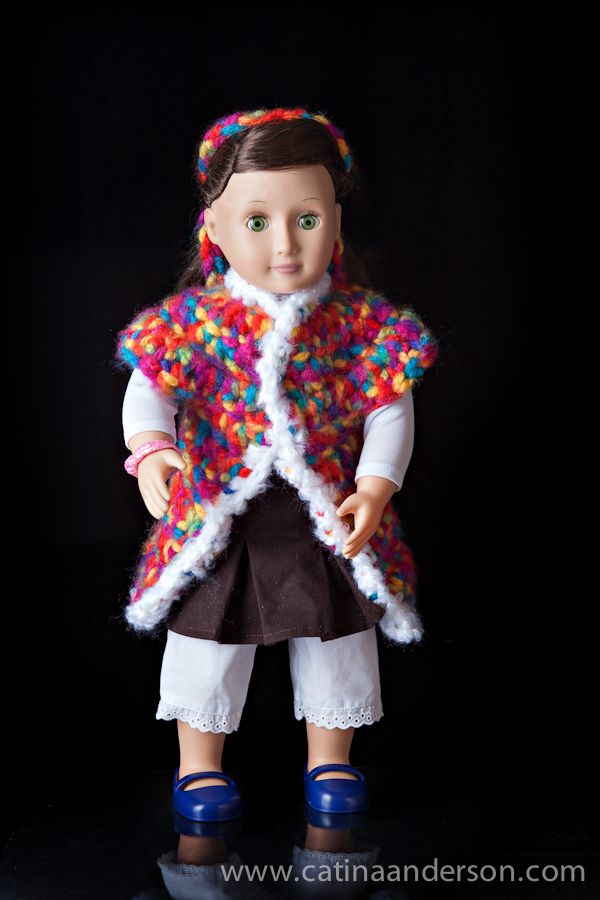
Today’s post is a crochet pattern and also could double as the “clothing” kindness idea of the day because you could whip up one of these doll coats in less than an hour to bring joy to the face of a special little girl.

For the past year I have been teaching my now 8-year-old daughters to crochet. Actually, our first projects were completed a year ago this month.
One thing I really want is for them to feel the freedom to create without a pattern. So today I asked them to join me in creating a coat for one of their 18” dolls. One of the girls jumped right in!
My main goals for this activity were:
- to let her see me go through the thought process of creating a pattern so she would hopefully feel like this was something she could do too
- to engage her in helping to make decisions about the design of the coat
- to introduce her to simple stitch abbreviations and pattern notation
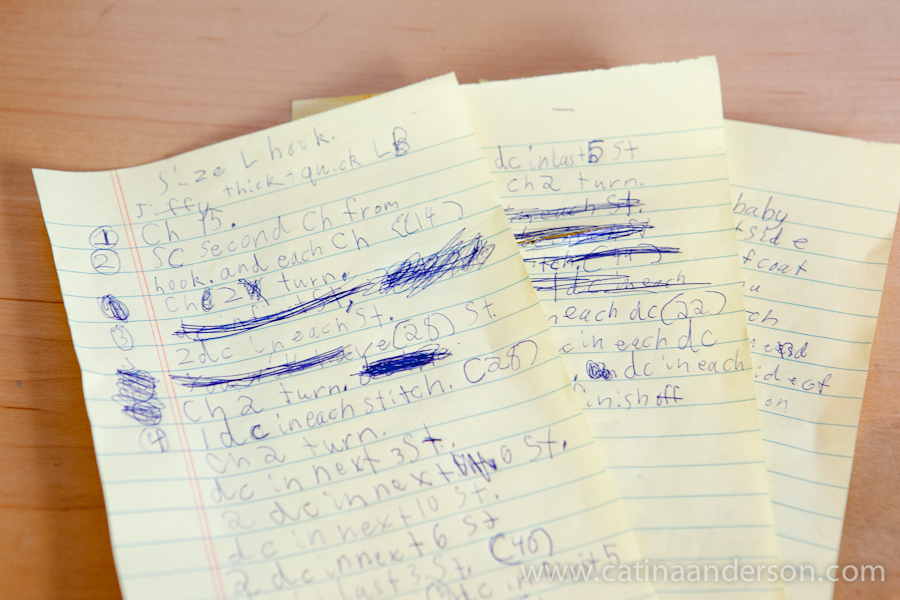
I crocheted and she grabbed a notepad and pen. She was super excited about this too! She kept saying how she was like a reporter getting down all the details! I think she really loved using abbreviations because it made the writing “easier.”

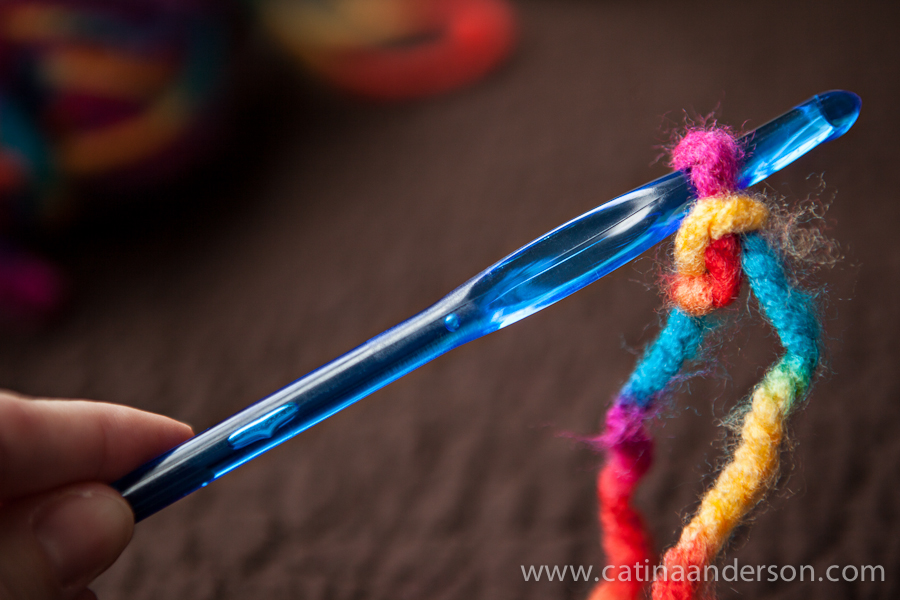
With a size L hook and super bulky yarn the entire process from start to finish took us less than an hour. Because we were talking through it the entire time she stayed interested and engaged.

A few of the things I most enjoyed about the experience:
- She was very proud to learn the stitch abbreviations. She couldn’t wait until Daddy got home to show him all she had written down in her role as “reporter.” She also kept telling me how fast she was getting at writing the instructions down and how she didn’t need me to remind her of the abbreviations.
- On at least 2 occasions we pulled out an entire row (once we pulled the same row out two times) because we didn’t like the results of our first try and wanted to try again. I love that I could model that trying again is a normal part of the process and not a “mistake.” I’ve repeated to both of my girls since the beginning that one of the great things about crochet is “You can’t mess it up because you can just pull out the stitches and try again.” That frees them to create.
- We used a bit of multiplication and addition in writing down the pattern – I love when anything we do connects to the skills they’re learning in school.
- I had fun engaging her in the design choices. I let her decide whether the arms would be wider or more narrow at the top (she chose wider), how long the coat should be and what yarn we should use for the trim. With each choice we were able to discuss how we would achieve the look we wanted. To make wider sleeves we crocheted 2 dc in some of the stitches near the sleeves. We had to count back from both sides to make sure the sleeves were symmetrical on both sides of the coat. To get more length we talked about whether we should use double crochet or single crochet.
- Both girls agreed that the style of the jacket reminded them of George Washington… therefore we will probably try this one again in revolutionary war colors :).
In the end it was a really fun learning experience for both of us and I hope to continue down this path towards teaching them the tools to create with crochet.
Here’s our final pattern!
A Colorful Coat for Dolly

Hook Size 8.oo mm L
Yarn:
- 1 Skein Jiffy Thick & Quick in Rocky Mountain (or color of choice)


- a small amount of fluffy white yarn for trim (we used Red Heart Baby Clouds in Cloud)

Chain 15
row 1: sc in second ch from hook and each chain across (14) ch 2, turn
row 2: 2 dc in each sc across (do not count ch 2 as a dc here or throughout the pattern) (28) ch 2, turn
row 3: dc in each st across (28) ch 2, turn
row 4: dc in next 3 st, 2 dc in next 6 st, dc in next 10 st, 2 dc in next 6 st, dc in last 3 st (40) ch 2, turn
row 5: dc in first 5 st, sk next 12 st, 2 dc in each of next 6 st, sk next 12 st, dc in last 5 st. (22) ch 2, turn


rows 6 – 10: dc in each dc across (22) ch 2, turn

Finish off, weave in loose ends
TRIM: We used Red Heart Baby Clouds Yarn. Hold the coat with right side facing you and the bottom edge of the coat farthest from you. Attach the cloud yarn with a slip stitch to the bottom right edge.

ch1, sc in same st and joining and sc evenly around the entire outside edge of the coat (2 sc in the end of each dc row along the opening of the coat). Finish off with a slip stitch and weave in the ends.


We decided to leave off ties or buttons. The yarn is thick enough that the coat/sweater stays on and closed by itself. A yarn tie looked too bulky. Instead we used some of the leftover colorful yarn to create a long chain (50 ch) to use as a hair accessory. You could add snaps if you wanted but we didn’t feel it was needed.
Here’s the coat in another color of Lion Brand Jiffy Thick & Quick.


If you make one of these colorful coats I’d love to see it! Take a picture and post it on my facebook page. It takes me only about 20 minutes to make one coat from start to finish. It uses almost the whole skein of Jiffy Thick & Quick. We use the extra for simple bracelets.
QUICK TIP: Use a coupon to buy this pricey yarn (a little over $8.00 a skein at JoAnn Fabrics). JoAnn Fabrics (where I found my skein) accepts competitor’s coupons! Michael’s often has a 50% off coupon that you can use at JoAnn’s along with your regular JoAnn’s coupons. If you have a smartphone get the JoAnn’s and Michael’s apps and you don’t have to worry about remembering your paper copies!
This crochet pattern is copyrighted by Catina Anderson. Do not sell or reproduce the pattern without the expressed written permission of Catina Anderson. However, please do feel free to share or pin the pattern including a link back to this page.
edited 2/8/2013 to add: joined a link-up at 5 days 5 ways!
and linked to link party at Moogly Blog:

This is such a fabulous post! I love the end product, but most importantly the process you went through with your daughter! What a fabulous experience for her–and you! Way to go, Mama!
Thanks so much! And thank you for stopping by! So fun to get comments!
This is ADORABLE! Saw it on the Hookin’ On Hump day link up – and can’t wait to try this for my niece’s doll!
Awesome! If you try it I’d love to see a picture!
The coat turned out cute and it sounds like you had a great time with your daughter:@)
Thanks so much and thank you for leaving a comment! Much appreciated!
This is a really inspirational post. I can see the care and love you’re sharing here – not to the mention the love of crochet! What a gift! Thank you so much for sharing this on Hookin on Hump Day!
Thank you for hosting Tamara! I love Moogly!!
Thanks for sharing this pattern! I have some Jiffy Thick & Quick in my stash and will definitely be making this.
Awesome! I’d love to see a picture when you’re done! Let me know if you have any questions.
Four years later, another little girl thanks you!
Thank you for taking the time to let me know! That makes me so happy!